Note: You do not need the API package from Rippling to proceed with the following instructions.
- As a prerequisite, you'll need Global Admin privileges in Worksphere and Super Admin privileges in Rippling to manage other admins.
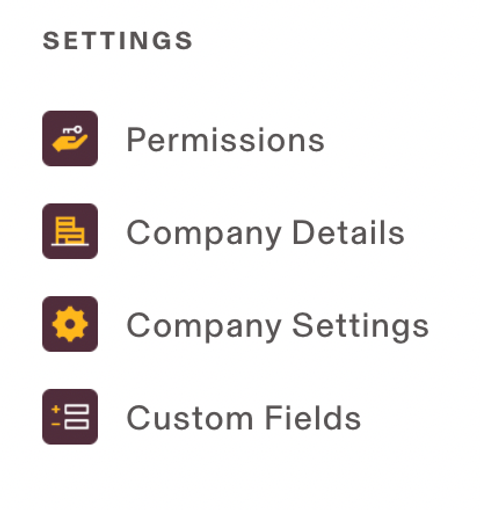
- Navigate to the Settings page in the left-hand side bar on your Rippling dashboard.
- Select Permissions.
- At the top, select Permission Profiles.
- Click New Permission Profile in the top right. Use the information below:
- Profile Name: Worksphere Admin
- Select a template or start from scratch: Start from scratch

- Under 'Who do you want to assign this profile to?'
- Select 3rd Party User
- + Add 3rd Party User.
- Enter the following information:
- Name: Worksphere Admin
- Email: integrations@worksphere.co
-
Define Permission Scope: The entire company.
-
For which apps should this permission profile administer: Choose specific apps or categories.
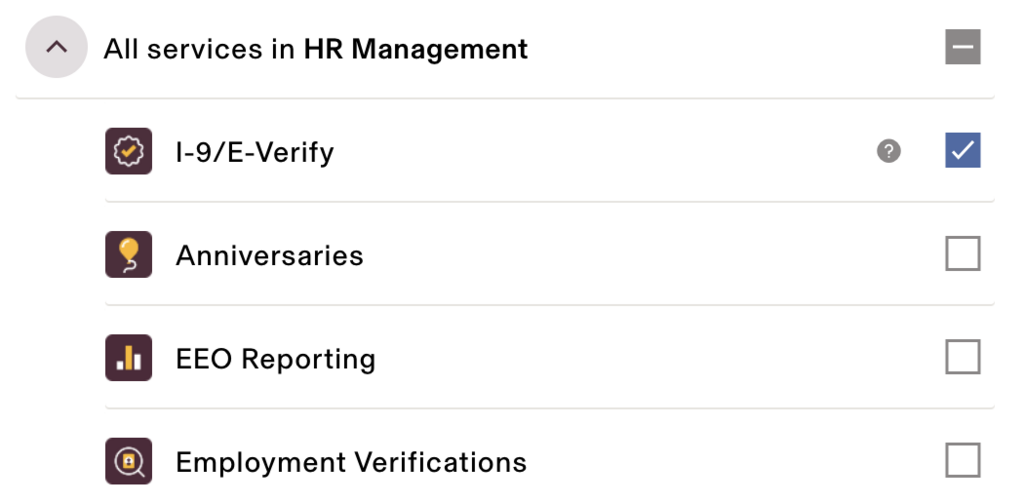
- Under Rippling Services, select HR Management > I-9/E-Verify, then click Continue.
-
Specify the data this profile can access.
- Personal data access: View basic and non-sensitive personal data
- Why? This gives us access to their personal email, which connects their user ID in our system.
- Why? This gives us access to their personal email, which connects their user ID in our system.
- Employment data access: View basic and non-sensitive employment data
- Why? This gives us access to Department, Start date, Work email address, and Employment status.
- Why? This gives us access to Department, Start date, Work email address, and Employment status.
- Personal data access: View basic and non-sensitive personal data
- Click 'Continue'.
-
Select third-party apps: Select none.
-
Save Permission profile.
- Let Worksphere know when this step is complete.