Set up and configure your office locations to create workspaces for your employees.
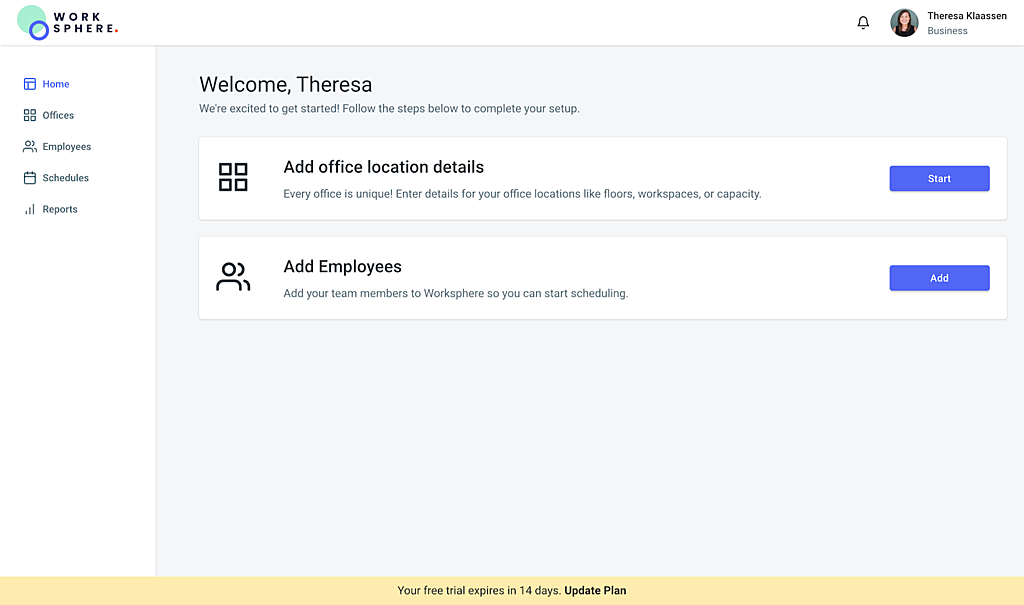
Once you have completed your Organization Set Up you will set up your Office Locations. From the screen below click "Start" next to "Add office location details".
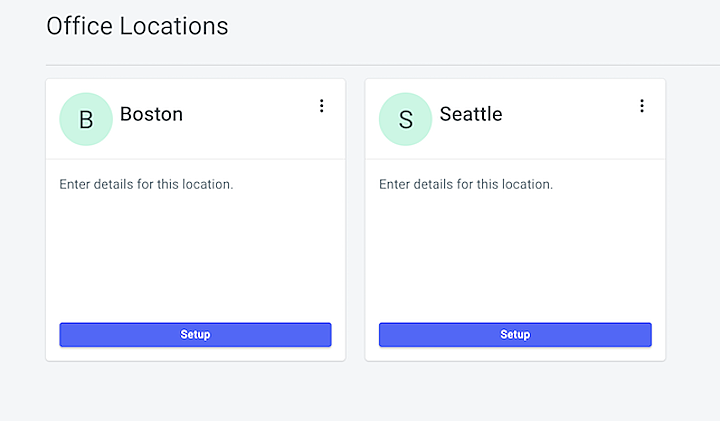
This will take you to the "Offices" page. This will be populated with the office location names you entered during your organization set up. You can also navigate to this page from the "Offices" link in the menu on left. From this page admins can view, edit, delete, or add new office locations. Click "Setup" on the office location you would like to set up.
1. Office Info
Enter the office location address and select from the auto-fill options provided. The time zone will auto-fill based on address location.
Use the toggle button to indicate if this is a headquarters. Organizations can have multiple headquarters.
2. Floors
Enter the name of each floor for this office location.
Click the “+ Add Floors” button to add additional floors to be named.
To delete a floor click the ‘x’ to the right of the floor name.
3. Maps and Seats
For each floor, click ‘Organize Seats’ to upload a floor map, add seats, edit seats, or create zones.
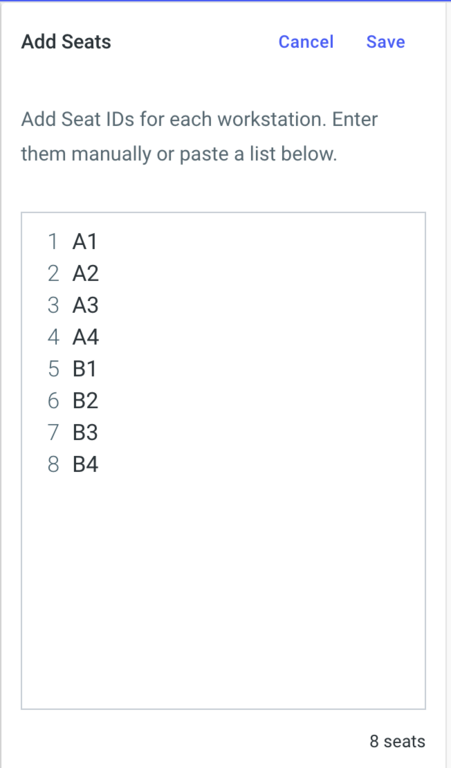
STEP 1: ADDING SEATS
In the "Add Seats" box on the right, add Seat ID’s for each bookable workstation. You can type them into the box, or paste a list of seat IDs from an excel or word document.
Once you have added all the seat IDs for that floor, click the save option in the top right corner.
STEP 2: ADD A FLOORPLAN (RECOMMENDED)
After adding your seat IDs, upload your floorplan by clicking ‘upload new map’ or dragging and dropping the file into the box.
Files must be PNG, JPG, or SVG files. Files must be under 3MB. Worksphere does not support PDF upload, so be sure to convert your PDF to an image file.
NOTE: You are not required to add a floorplan to book workstations. This step is recommended for the best employee experience.
STEP 3: PLACE SEATS
You can place the seats by clicking on the map. The seat will automatically change to the next seat after being placed.
You can change seat placement by clicking on the seat and dragging and dropping it in a new location.
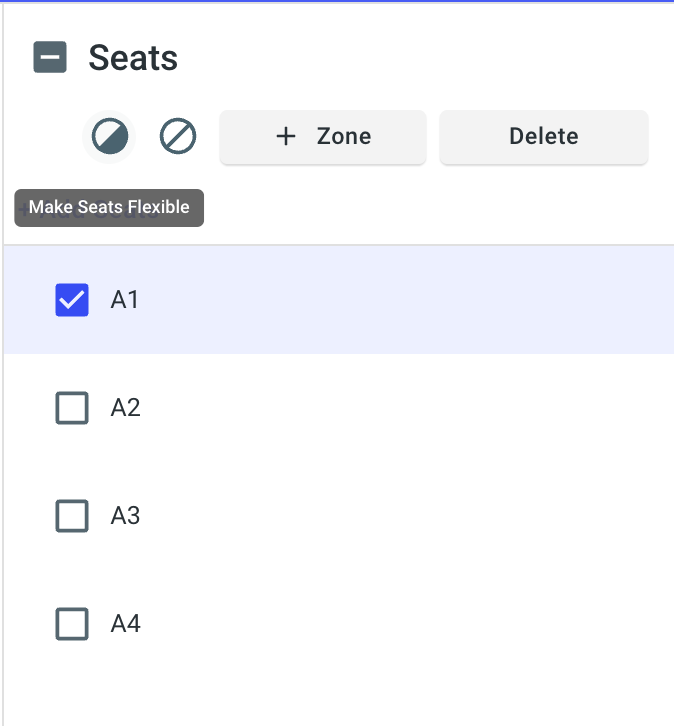
STEP 4: SET SEATS AS ASSIGNED, FLEXIBLE, OR BLOCKED
There are three types of seats in Worksphere.
Assigned - Only the employee(s) assigned to this seat can schedule into this assigned seat.
Flexible - This seat is unassigned but can be reserved flexibly as a hotdesk or hotel desk. You can set up permissions for restricting who has access to flexible seats by adding Zones (see below)
Blocked - No employees can schedule into this seat.
All seats are set to 'Assigned' status by default.
To create a flexible seat, select the seat on the floorplan or click the checkbox next to the seat in the right panel. At the top of the right panel click on the "Flexible" seat marker button.
To create a blocked seat, select the seat on the floorplan or click the checkbox next to the seat in the right panel. At the top of the right panel, click on the "Blocked" seat marker button.
See our article on Creating and Editing Seats for more detailed information.
STEP 5: CREATE ZONES (Optional)
+ Zones - Setting up zones will assist with scheduling, reporting, and capacity limits and determining permissions for flexible seating areas.
Select the seats you would like to include in a zone.
Click ‘+ Zone’ on the right side of the tool.
Name your zone and select ‘Create New’.
Once zones have been created, you can set seat types for an entire zone by selecting that zone. You can also edit the access to that zone by clicking "Edit" next to Access. Zones will automatically be set to allow access for all employees.
See our article on Creating and Editing Zones for more detailed information.
4. Limit Capacity (Optional)
From the Limited Capacity page, indicate whether or not you will be limiting capacity at this office location. (If you are not, simply click “next” and you are done setting up this location!)
Select from the menu whether you will be limiting capacity by office, floor, or zone. Setting capacity by zone is recommended as it gives the highest level of control over the configuration of that specific zone.
If you are limiting capacity by office or floor only, enter the percent of capacity you would like to have as your limit.
If limiting by zone, enter the capacity limit for each zone, and you will be able to see what your overall capacity is for that floor. From this screen, you will also be able to set capacity limits for any floors which do not have zones.
SUCCESS! Click “finish” and repeat the process for any additional Office Locations.